Last Updated: November 20, 2026
Quick Summary
Low water pressure after installing a new filter cartridge is usually caused by trapped air, a mis-seated or wrong cartridge, or a partially closed valve. Open every shutoff and bypass valve, flush the cartridge with cold water for three to five minutes, and reseat it with the O-ring flat.
- Trapped air in the filter housing is the number one cause of pressure loss after a cartridge change.
- Flush a new cartridge with cold water for three to five minutes to clear air and loose media fines.
- Install one gauge on the inlet and one on the outlet, and read both with the same tap open.
- A six-month replacement schedule is a sensible baseline for most homes.
- If pressure is low on both sides of the housing, the problem is not the filter.
Table of Contents
- Why Low Water Pressure After Installing a Water Filter Happens
- Step-by-Step Troubleshooting: Restoring Water Pressure with New Filter Cartridges
- Whole House Water Filter Pressure Drop: What It Means and How to Measure It
- Reading a Water Filter Pressure Drop Chart
- How Often to Change Water Filter Cartridges to Prevent Pressure Loss
- Whole-House vs. Refrigerator and Point-of-Use Filter Troubleshooting
- When Low Pressure Points to a Problem Beyond the Filter
- Analyze Your Water and Choose the Right Cartridge Setup
- Frequently Asked Questions
Why Low Water Pressure After Installing a Water Filter Happens
Low water pressure after installing a water filter is usually a sign of trapped air, a cartridge that is seated wrong, or a valve that is not fully open.
A filter cartridge adds resistance to the water line. That resistance is normal. What is not normal is a sudden, sharp drop at every tap.
Three causes cover most of it:
- Trapped air in the housing
- The wrong cartridge or a mis-seated one
- A partially closed shutoff or bypass valve
Trapped Air: The Most Common Culprit
Air trapped in the filter housing is the number one cause of pressure loss after a cartridge change. When you open a housing, air rushes in.
The fix is simple. Open the nearest cold tap and let it run for a few minutes. The air works its way out. You may hear gurgling. That is normal.
If the sputtering does not stop after five minutes of flushing, the air may be trapped higher in the line. Open a second tap on a different floor and let both run.
Cartridge Orientation and Compatibility Mistakes
A cartridge that is the wrong size, the wrong type, or installed upside down will choke your water flow. This is the second most common reason for low water pressure after installing a water filter.
Check three things before you blame the plumbing:
- Size: Does the replacement cartridge match your housing exactly?
- Type: Is it rated for your water source and flow demand?
- Orientation: Does it seat fully, with the O-ring seated flat?
If you are unsure which cartridge fits your housing, our DIY cartridge replacement page can help you find the right match. A mis-seated O-ring can also cause leaks and air intrusion.
Step-by-Step Troubleshooting: Restoring Water Pressure with New Filter Cartridges
Restoring pressure means working from the simplest fix to the most involved, one step at a time. Follow this sequence in order. Stop as soon as pressure returns to normal.
- Open every shutoff and bypass valve. A valve left half-closed is a silent pressure killer.
- Flush the new cartridge. Run cold water for three to five minutes to clear air and loose media fines.
- Check the cartridge seating. Remove the sump, reseat the cartridge, and confirm the O-ring sits flat.
- Inspect the housing and seals. Look for cracks, pinched O-rings, or debris on the sealing surface.
- Release trapped air at the highest tap. Open a faucet on the top floor and let it run.
- Recheck the pressure. If it is still low, test with a gauge.
Watch out: never open a filter housing before you depressurize the line. Close the inlet valve and open a downstream tap first. Pressurized water and a heavy sump can cause injury.
Whole House Water Filter Pressure Drop: What It Means and How to Measure It
Whole house water filter pressure drop is the difference between the pressure going into the filter and the pressure coming out. A small drop is normal.
Every filter creates some resistance. The question is how much.
If you want to understand how flow and pressure relate, our guide on how to calculate flow rate for water systems explains the math behind it.
Where to Place the Gauges
Install one gauge on the inlet side of the housing and one on the outlet side. The inlet gauge reads supply pressure arriving at the filter.
A pressure gauge rated for your system makes this a two-minute check.
Place the outlet gauge downstream of the housing but upstream of any branch lines, so it reflects the filter’s effect rather than a single fixture’s demand.
Static Versus Flowing Pressure
Static pressure is the reading with no water running. Flowing pressure is the reading with a tap open. They tell you different things.
- Static pressure shows whether supply is reaching the filter at all. A low static reading on the inlet side points to a supply or valve problem, not the cartridge.
- Flowing pressure shows how the filter behaves under demand. A drop that appears only when water runs is the filter’s resistance at work.
Take both readings. If static pressure is normal but flowing pressure collapses, the restriction is in the filter or its installation. If static pressure is already low, the problem lives upstream.
Reading the Difference
Subtract the outlet reading from the inlet reading while a tap is running. That number is your flowing pressure drop.
- A small, steady drop at normal demand is expected.
- A drop that grows week over week means the cartridge is loading up.
- A sudden large drop on a brand-new cartridge points to a seating, orientation, or valve problem, not clogging.
Compare today’s numbers to the reading you took when the cartridge was new. That baseline is what turns a gauge into a diagnostic tool.
Watch out: read both gauges at the same time with the same tap open. Comparing a static inlet reading to a flowing outlet reading produces a false drop and sends you chasing the wrong cause.
Reading a Water Filter Pressure Drop Chart
A water filter pressure drop chart shows how much pressure a cartridge loses as flow increases. Every cartridge has a rated flow.
Use the chart to answer one question: is my system running within its design range?
|
Flow Condition |
What the Chart Shows |
What to Do |
|---|---|---|
|
At or below rated flow |
Small, steady drop |
Normal, no action |
|
Slightly above rated flow |
Drop climbs quickly |
Reduce demand or upsize |
|
Well above rated flow |
Steep pressure loss |
Resize the system |
|
Drop rising over time |
Cartridge loading up |
Clean or replace cartridge |
The takeaway: match your cartridge’s rated capacity to your home’s peak demand. A cartridge pushed past its flow rating will always show a big pressure drop.
Matching the Cartridge to the Housing and the House
A chart is only as good as the cartridge it describes. Before you read a single curve, confirm four specifications line up with your housing and your household demand.
- Dimensions: The cartridge must match the housing’s inside diameter and length exactly. A cartridge that is too short or too narrow lets water bypass the media; one that is too long will not seat and can crack the sump.
- Micron rating: A tighter micron rating captures finer sediment but restricts flow more. Going finer than your water requires trades pressure for filtration you may not need.
- Media: Sediment, carbon block, and granular media behave differently. Carbon block cartridges tend to show a steeper drop as they load than pleated sediment cartridges.
Estimating Peak Demand
Peak demand is what your system sees when several fixtures run at once, such as a shower, a washing machine, and a kitchen tap together.
A common pattern is a cartridge that performs fine at one tap and falls flat when the house is busy.
If you are unsure which cartridge fits your housing, our DIY cartridge replacement page shows the correct match for your system.
Watch out: never substitute a cartridge with a different micron rating or media without rechecking the chart.
How Often to Change Water Filter Cartridges to Prevent Pressure Loss
How often to change a water filter depends on your water quality and your cartridge’s rated capacity, but a six-month replacement schedule is a sensible baseline for most homes.
Signs it is time to replace:
- Pressure drop is growing over time
- Water tastes or smells different
- The cartridge looks dark or coated
- It has been more than six months
A clogged filter is the slow version of the problem. It does not fail overnight. It creeps up on you until every shower feels weak. Track your pressure drop and you will see it coming.
Whole-House vs. Refrigerator and Point-of-Use Filter Troubleshooting
Whole-house and point-of-use filters fail in different ways, so troubleshoot them separately. A whole-house filter affects every tap. A refrigerator or under-sink filter affects one.
For a whole-house system:
- Check both gauges, inlet and outlet
- Confirm the main valves are open
- Flush the housing after a change
- Inspect the sump and O-rings
For a refrigerator or point-of-use filter:
- Confirm the new cartridge clicks into place
- Flush two to three gallons through it
- Check the water dispenser line for kinks
- Replace the cartridge if flow stays weak
A common mistake is treating a fridge filter like a whole-house unit. They are not the same. Fridge cartridges are small and load up fast.
When Low Pressure Points to a Problem Beyond the Filter
Sometimes the filter is innocent. If pressure is low on both sides of the housing, the problem lives somewhere else in the system.
Look at these next:
- A failing pressure tank or a tank that lost its air charge
- A pressure switch set too low
- A clogged aerator or a failing faucet cartridge
- A partially closed main valve
Well owners can read our guide on how to improve well water pressure for home once the filter is ruled out.
For the full list of causes, see 9 reasons water pressure drops after a new filter.
Analyze Your Water and Choose the Right Cartridge Setup
The right cartridge setup prevents most pressure problems before they start.
City water and well water need different media. City water often needs sediment and chlorine reduction.
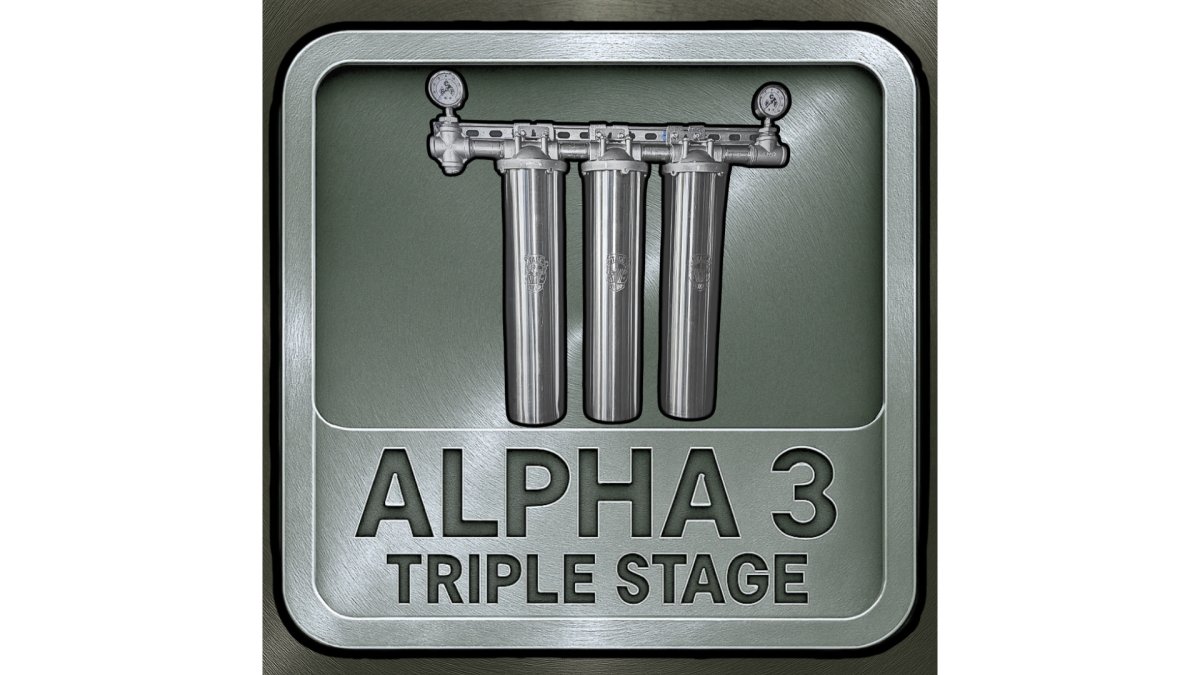
Our ALPHA-3 cartridge sets are calibrated through the C.L.E.A.R.™ Water Intelligence System. Our housings are built from 100% surgical-grade stainless steel.
If your home’s demand has outgrown a single-cartridge setup, you can explore our Custom Built Water Filtration Systems for a configuration suited to your household.
Start with a water analysis to identify the contaminants present in your water supply.
Frequently Asked Questions
Why is my water pressure low after I change the filter?
Low water pressure after a cartridge change usually comes from trapped air, an incorrectly seated or wrong-size cartridge, or a shutoff valve that was not fully reopened. Start by opening a downstream faucet to purge air, confirm the cartridge matches your housing’s specified size and micron rating, and check that the bypass valve is in the normal operating position. If pressure stays low, inspect the O-ring and housing for debris or damage.
How can I tell whether a new cartridge is causing a pressure drop?
Install a pressure gauge before and after the filter housing. A small drop across the filter is normal, but a large or growing differential points to a restrictive cartridge, a clogged pre-filter, or a mismatch between the cartridge’s flow rate and your home’s demand. Compare readings with the old cartridge and with the housing bypassed to isolate the filter as the cause.
How often should I change my water filter cartridge?
Most whole-house sediment and carbon cartridges need replacement every six months, though well water with high sediment or iron may require more frequent changes. Point-of-use and refrigerator filters often follow a manufacturer schedule based on gallons used. Track pressure drop with a gauge; a steady rise in differential pressure between the filter inlet and outlet is a reliable signal that the cartridge is loading up and restricting flow.
What should I check if water pressure stays low after replacing a cartridge?
Confirm the replacement cartridge is the correct type and size for your housing, verify the O-ring is lubricated and seated, and check that all shutoff and bypass valves are fully open. Release trapped air by running the nearest cold faucet. If pressure remains low, measure the pressure differential across the filter; a high reading suggests a clogged or incompatible cartridge. Persistent low pressure with the filter bypassed points to a supply-side issue beyond the filter.