Table of Contents
- Why Mold Grows Inside Water Filtration Systems
- Signs of Mold Contamination in Your Filter
- How to Clean and Sanitize Water Filter Housings
- Step 1: Isolate and Depressurize [Time: 5 minutes]
- Step 2: Remove and Inspect the Cartridge [Time: 5 minutes]
- Step 3: Scrub the Housing Interior [Time: 10 minutes]
- Step 4: Disinfect Non-Metal Components [Time: 5 minutes]
- Step 5: Reassemble and Flush [Time: 10 minutes]
- When to Discard a Filter Instead of Cleaning It
- Microbiological Safety Thresholds: When a System Is Beyond Saving
- Water Filter Maintenance Schedule: Daily, Monthly, Annual
- Stainless Steel vs Plastic Water Filters: Mold Resistance
- Environmental and Water Source Factors That Drive Mold Growth
- Frequently Asked Questions
Last Updated: September 16, 2026
Why Mold Grows Inside Water Filtration Systems
Mold growth inside a water filtration system is a microbial contamination problem, not a cosmetic one. Fungal spores are present in nearly all untreated water and in household air, and a filter housing gives them what they need to colonize: moisture, organic matter, and darkness.
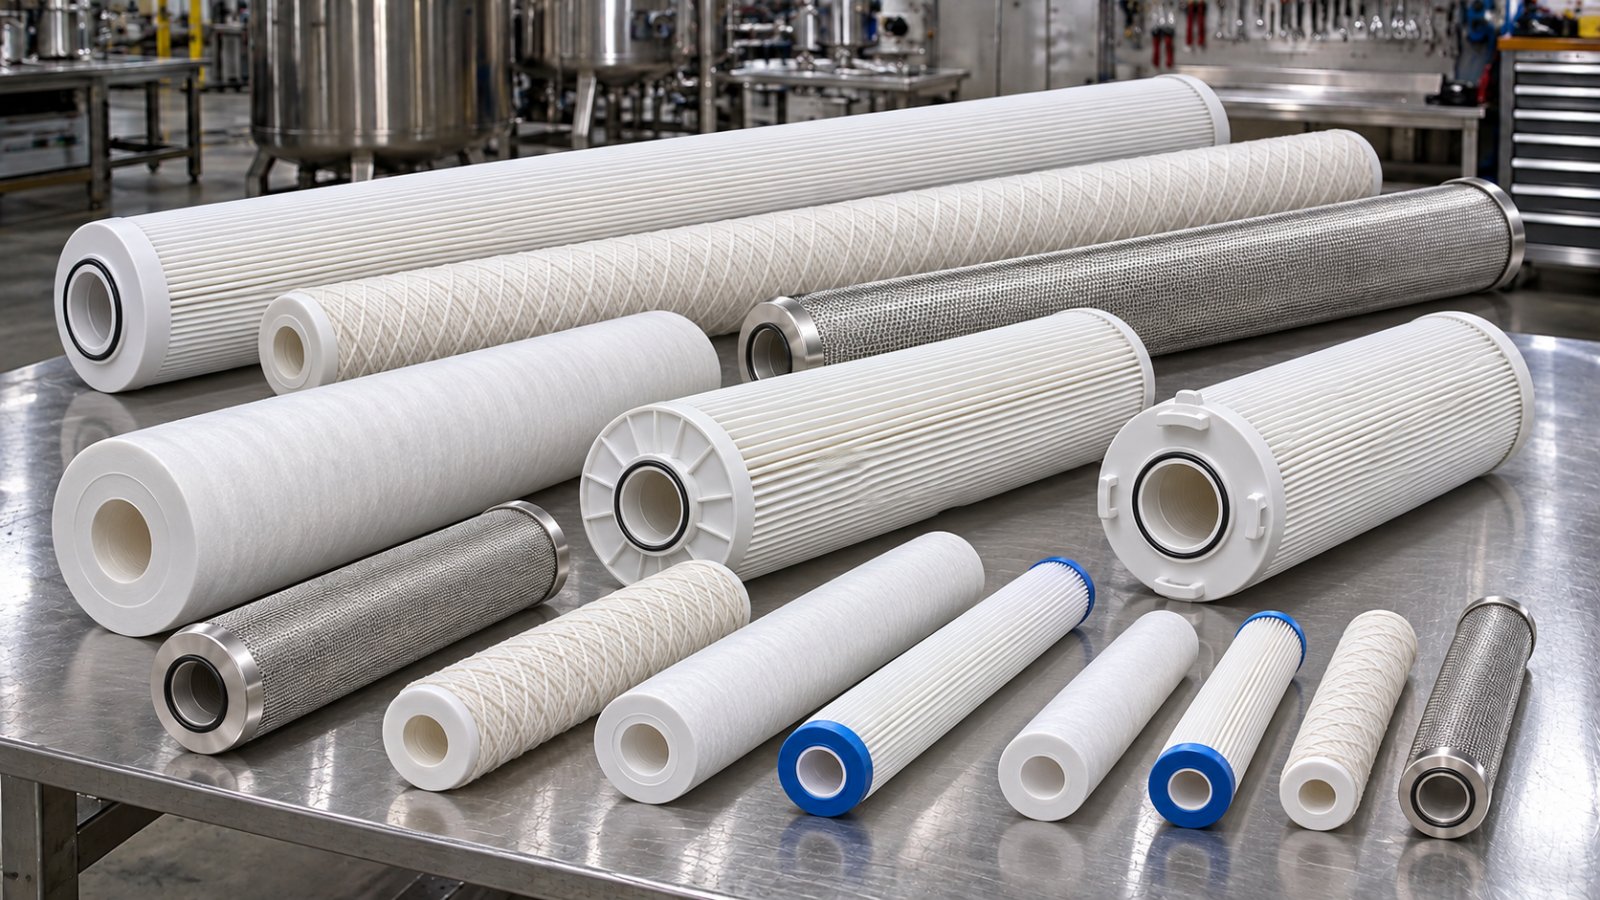
Three factors work together. First, biofilm forms on the inner walls of the filter housing, trapping sediment and nutrients. Second, activated carbon media, while excellent at contaminant removal, also collects the organic matter that feeds microbial growth. Third, water stagnation between draws means the water inside the housing loses residual disinfectant and warms toward room temperature.
This guide from Custom Fabricated Filters LLC breaks down where mold actually starts, how to spot it early, and how to clean and maintain a system so it stays hygienic for years rather than months.
The Role of Chlorine Removal and Stagnant Water
A filter that removes chlorine residual is doing its job, but that removal allows spore proliferation downstream. Chlorine suppresses microbial life in municipal water; once the carbon stage strips it out, nothing holds micro-organisms in check.
Stagnation makes this worse.
Signs of Mold Contamination in Your Filter
The earliest warning sign is smell, not sight. A musty, earthy, or damp-basement odor from the tap usually means mildew or fungal spores have established themselves in the housing.
Visual and physical signs to check for:
- Black, gray, or green speckling on the filter housing walls or under the O-ring seat
- Slimy film on the filter cartridge surface, distinct from normal sediment
- Cloudy or off-tasting potable water despite a relatively new cartridge
- A sudden drop in flow rate, which can indicate sediment buildup combined with biological clogging
How to Clean and Sanitize Water Filter Housings
Cleaning a filter housing properly takes about 30 to 45 minutes and requires shutting off supply, depressurizing the system, and removing the cartridge. Sanitizing water filter housings is a two-part job: physical removal of biofilm and organic matter, then disinfection of the surfaces the water will touch. Skipping either part leaves a foothold, because a sanitizer cannot penetrate a slime layer it never reaches.
Total Time: 30-45 minutes
Difficulty: Beginner to intermediate
What You’ll Need:
- Soft nylon brush (never abrasive pads on stainless)
- White vinegar, undiluted
- A separate diluted bleach solution for non-metal parts only
- Clean lint-free cloths
- Replacement O-rings if the existing ones are cracked or discolored
- Food-grade silicone grease for reassembly
Step 1: Isolate and Depressurize [Time: 5 minutes]
Close the supply valve and open a downstream faucet to bleed pressure. Confirm the housing is empty before you open it.
Expected Result: No water spray when the canister is loosened.
Step 2: Remove and Inspect the Cartridge [Time: 5 minutes]
Pull the filter cartridge and examine it under good light. A cartridge with visible slime or a musty smell is past cleaning, the media itself is colonized, and surface cleaning will not reach growth inside the carbon block. Replace it.
Step 3: Scrub the Housing Interior [Time: 10 minutes]
Wipe down the housing walls, threads, and O-ring groove with a vinegar-soaked cloth, then scrub gently with the soft brush. Vinegar handles most mineral and biological films without damaging metal surfaces. Pay attention to the threads and O-ring seat, the two spots where biofilm most often survives a quick wipe.
Alpha Ultraviolet Water Sterilizer →
Step 4: Disinfect Non-Metal Components [Time: 5 minutes]
Soak plastic fittings and removable parts in the diluted bleach solution for no more than a few minutes, then rinse thoroughly. Material compatibility matters: bleach is aggressive toward some plastics and rubber, which is one reason stainless housings tolerate cleaning better than plastic ones. Vinegar is the safer default for anything you are unsure about.
Step 5: Reassemble and Flush [Time: 10 minutes]
Reinstall the cartridge (or a new one), lubricate O-rings with food-grade silicone grease, and run system flushing for several minutes before using the water. Flush until the water runs clear and odor-free, if a musty smell persists, the contamination is downstream of the housing.
Never mix vinegar and bleach in the same container. The combination releases chlorine gas. Use them as separate steps, with a full rinse between.
When to Discard a Filter Instead of Cleaning It
Cleaning is for the housing and reusable hardware; a colonized cartridge is almost never worth saving. If the cartridge is past its rated interval, shows visible slime, or the water smells musty even after the housing has been cleaned, replace it. Cleaning a spent carbon block does not restore its adsorption capacity, and visible surface growth is usually a fraction of what has taken hold inside the media.
Microbiological Safety Thresholds: When a System Is Beyond Saving
A more useful standard than “clean it and see” is knowing when cleaning is no longer the right call. Three practical thresholds apply:
- Recurrence. If mold returns within two to three weeks of a proper clean-and-sanitize cycle, the contamination is established in a place you cannot reach, typically the media, the tubing, or a fitting, and the affected components should be replaced rather than re-cleaned.
- Persistence after flushing. If a musty odor survives a full flush with a fresh cartridge, the growth is downstream of the housing. That points to the lines, the faucet aerator, or a storage component, and those need to be addressed directly.
- Visible growth on non-serviceable parts. If you can see discoloration inside a sealed or press-fit component, there is no safe way to verify it has been fully decontaminated. Replacement is the conservative choice.
Water Filter Maintenance Schedule: Daily, Monthly, Annual
A water filter maintenance schedule separates a system that stays clean from one that becomes a recurring problem. The schedule below reflects a typical household, but the right interval depends on your environment and water source, not just the calendar.
| Frequency | Task | Why It Matters |
|---|---|---|
| Weekly | Run water through low-use fixtures | Prevents water stagnation |
| Monthly | Inspect housing for film, odor, discoloration | Catches biofilm early |
| Quarterly | Deep clean and sanitize housing | Removes organic matter buildup |
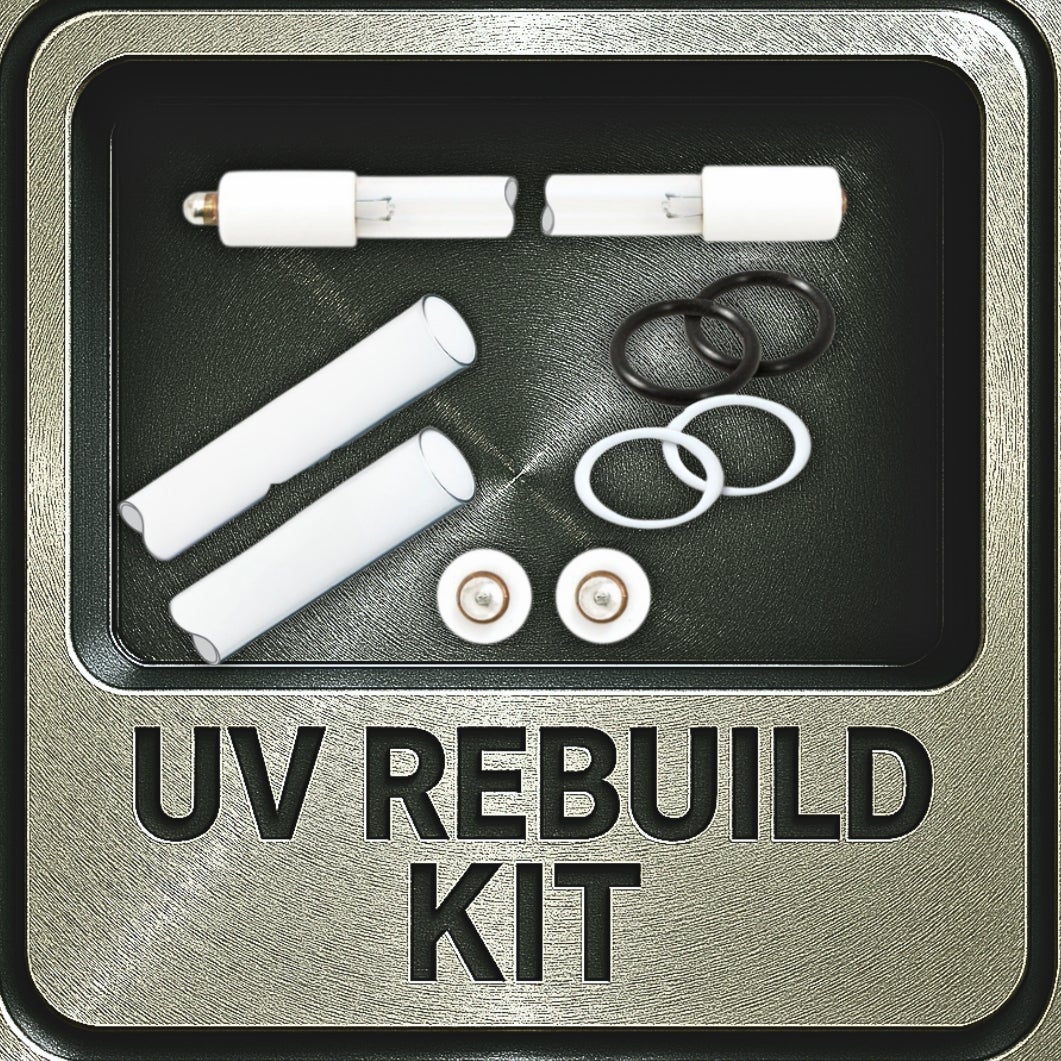
| Annually | Replace cartridge, O-rings, and UV bulb | Restores filter lifespan and sterilization |
Environmental Factors That Shorten the Interval
Humidity and temperature are the two variables most schedules ignore, and the ones that most often cause early failure. A filter in a damp basement, crawlspace, or unconditioned garage sits in air near saturation. Condensation forms on cool housing surfaces, and that surface moisture feeds spore proliferation even when the water inside is clean.
Water Source Impact: Well Water vs. Municipal Water
Water source impact is the second variable that should reshape your schedule. Well water often carries higher organic matter, iron, and sulfur, all of which support microbial growth once they collect in a cartridge, so well-water systems typically need more frequent cartridge changes and housing inspections than the generic annual interval suggests.
Two Tasks Owners Skip
O-ring maintenance is the one most owners skip, and a dried or cracked O-ring lets air and contaminants into the housing. Replace O-rings at every deep clean if they show cracking, discoloration, or loss of elasticity, and lubricate them with food-grade silicone grease at reassembly.
Write the date directly on the housing with a paint pen each time you service it. In practice, this single habit prevents more missed maintenance than any app reminder, because it travels with the equipment.
The calendar is a starting point, not a plan. Adjust your intervals for humidity, temperature, and whether your water comes from a well or a municipal supply, those three factors move the schedule more than the passage of time does.
Stainless Steel vs Plastic Water Filters: Mold Resistance
The housing material matters more than most buyers realize. Plastic housings scratch easily, and those micro-abrasions give bacterial colonization and fungal spores a place to anchor that a smooth surface does not offer. Plastic also degrades under UV exposure and pressure cycling, and degraded plastic can contribute chemical leaching into the water it is supposed to clean.
The single most important factor in mold resistance is not the filter media. It is whether the housing surface can be cleaned thoroughly and repeatedly without degrading. Stainless can; scratched plastic cannot.
Environmental and Water Source Factors That Drive Mold Growth
Mold in a filtration system is a maintenance and materials problem, and both are solvable. The homeowners who avoid it are the ones who match their system to their water source, service it on a real schedule, and choose housings that can be cleaned without falling apart. Custom Fabricated Filters LLC builds Custom Built Water Filtration Systems and 100% surgical-grade stainless steel systems designed as permanent infrastructure, backed by a lifetime warranty and the C.L.E.A.R.™ Water Intelligence System for calibration to your specific water.
Frequently Asked Questions
Why does mold grow inside water filtration systems?
Mold growth in water filtration systems happens when moisture, organic matter, and darkness combine. Carbon filters remove chlorine, which normally suppresses microbial growth, so the filter becomes a favorable environment for fungal spores. Stagnant water in the housing, warm temperatures above 68°F, and infrequent filter changes all accelerate colonization. Well water or untreated surface water can introduce spores and nutrients directly into the system.
How often should water filter housings be sanitized?
Sanitize water filter housings at least every three months, or monthly if you use well water or notice musty odors. A full water filter maintenance schedule includes rinsing the housing with every cartridge change, deep cleaning with vinegar or diluted bleach quarterly, and inspecting O-rings for cracks. Replace carbon cartridges and UV bulbs annually to prevent biofilm and mold from returning.
Does stainless steel prevent mold growth better than plastic?
Stainless steel resists mold better than plastic because it does not scratch or pit as easily. Scratches on plastic housings create crevices where biofilm and mold spores anchor. Stainless steel also handles higher temperatures and stronger cleaning agents without degrading, so sanitizing is more effective. For long-term mold prevention, stainless steel vs plastic water filters is a clear win for steel in durability and hygiene.
What is the safest way to clean a water filtration system?
The safest method is to disassemble the system, rinse all parts with warm water, then scrub the housing with a soft brush and a 1:1 white vinegar solution. For stubborn mold, use a diluted bleach solution, soak, and rinse thoroughly. Never mix vinegar and bleach. Replace the filter cartridge and any damaged O-rings, then flush the system for 5 minutes before use.